Introduction
After five years of enjoying photography with relatively simple means: DIY Newton telescope, equatorial platform with Arduino-controlled stepper motor (see elsewhere on this site) and SLR, it was time for significant improvements. The first was the ASI1600 MM Pro camera and then came the plan for a permanent setup in the garden. After due consideration and consultation with members of the astroclub Saturnus, the preference was for a shed with a flat roll-top roof. Converting our old garden house was not really an option. It would have to disappear and the construction with the roll-top roof would change the garden considerably, so careful consultation was necessary to arrive at a design that meets the following requirements:
– Best possible view, especially to the south
– Fitting into the garden so that it does not appear much smaller
– No obvious appearance: this is an observatory
– Comply with municipal regulations
– Stay friends with the neighborhood
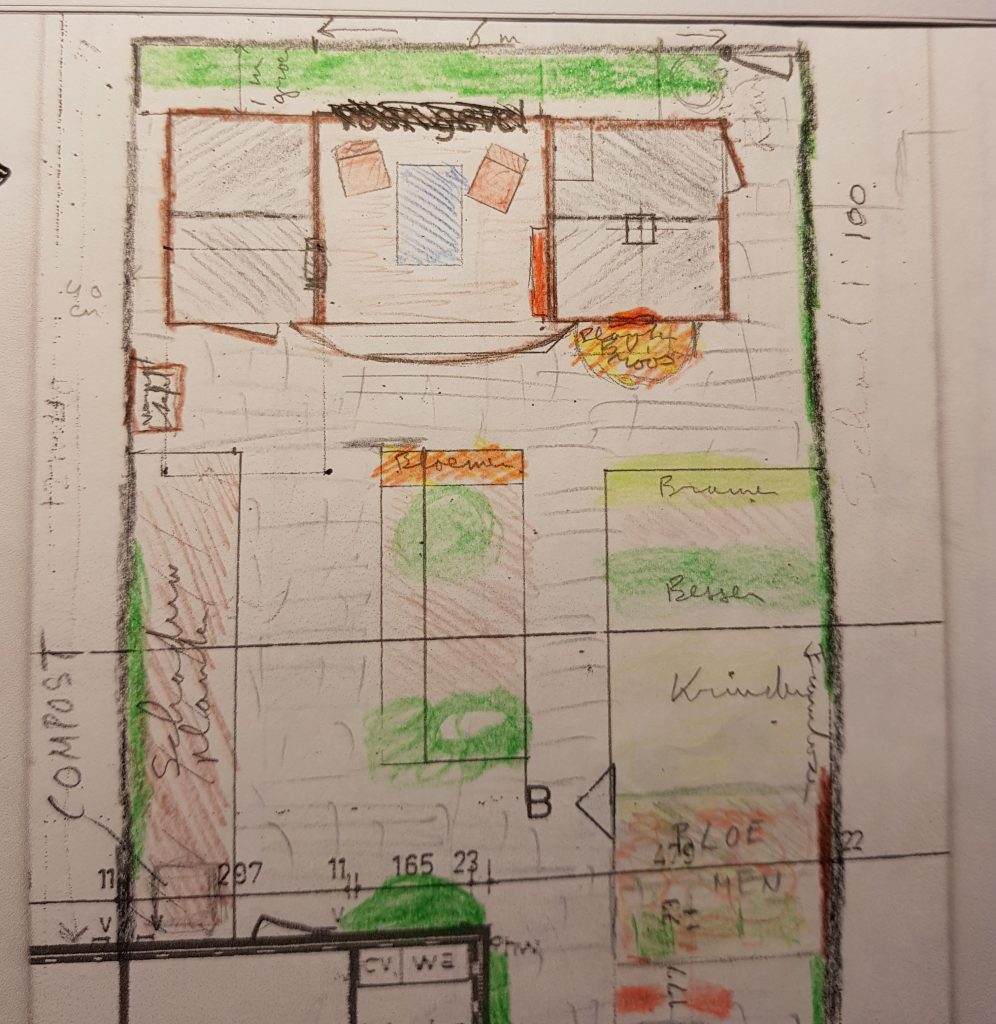
This led to the sketch design shown:
The building consists of three parts: a replacement for the existing garden shed, a roof and the actual telescope housing. In the end, the left and right have become the same width.
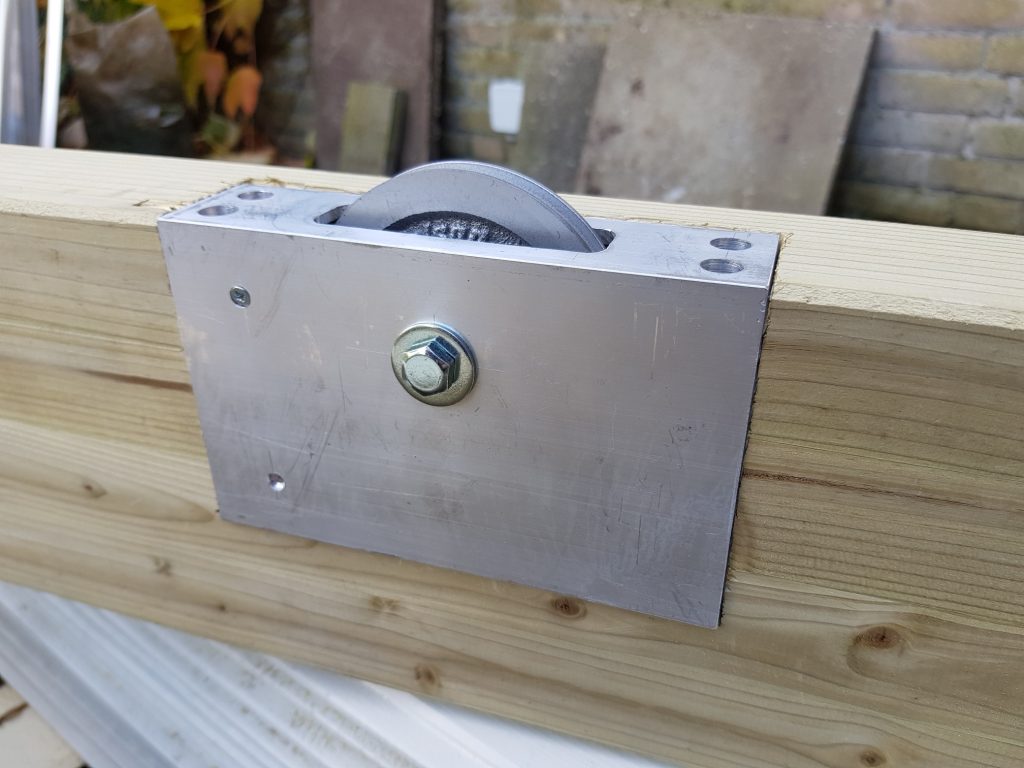
Basic design ideas for the roll-top and canopy
A flat roll roof must of course run reasonably smoothly and this is best done with steel on steel. A solid roof that can also hold a nice snow load of about 2.5×3 m soon weighs more than 150 kg. The solution was found by making wheels from ball-bearing so-called cable disks (from Colson Europe) and having them run over a 6 meter long 30x30x3.5 mm angle profile. The wheels are suspended in an aluminum rectangular box profile of 40x100x4 mm. This profile is recessed into the supporting beams of the roof. The beams have been milled in two places (exciting…) whereby the stiffness has been retained as much as possible. As a result, the roof also retained a minimal thickness, which benefits the view.
It was important that the support structure of the open roof was not too prominently visible in the garden. This has been solved by integrating it with a canopy.
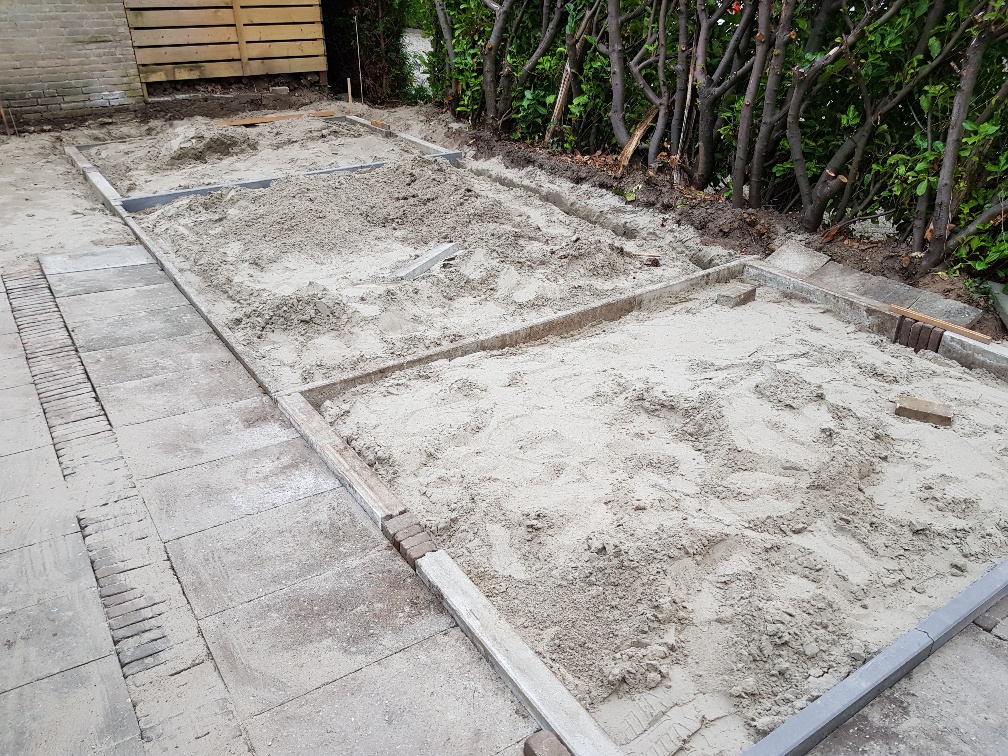
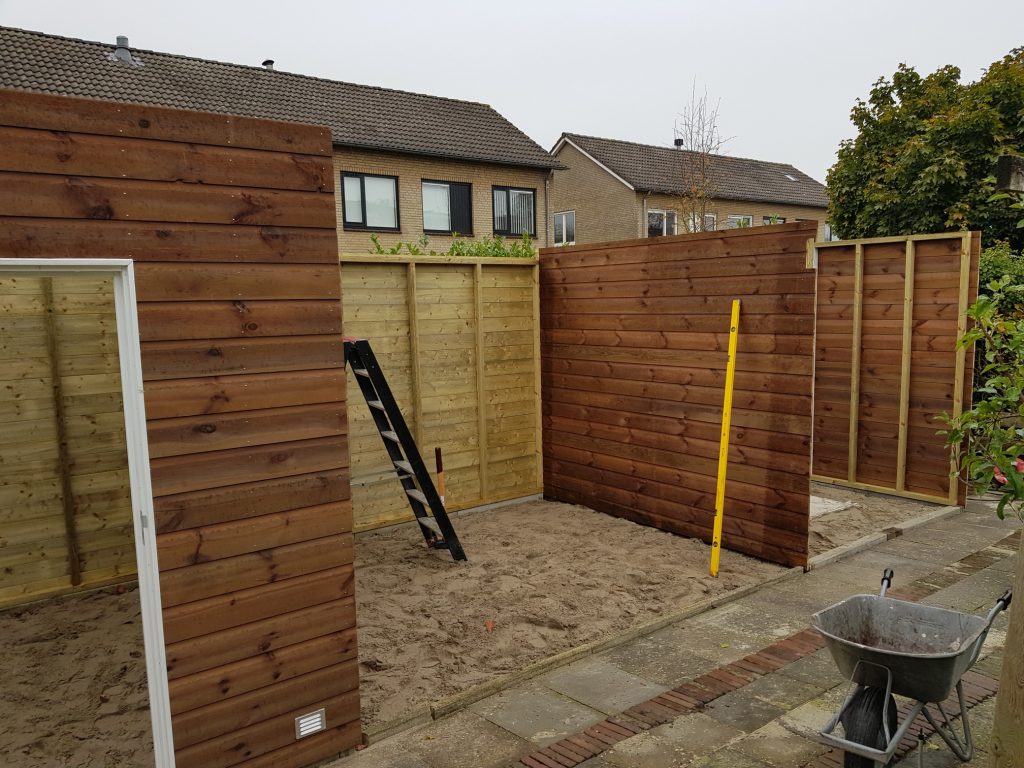
Groundwork
The backyard has been made suitable for the construction by an earthmoving / landscaping company. The foundation tires were placed by myself using available material. The garden house manufacturer was not very enthusiastic, but the whole thing turned out to be very workable. Before the garden building could be placed, a concrete foundation for the telescope column was poured. Ground size 80×80 cm and a total of about 600 kg.
Building design
The provisional design of the building is not directly in line with the standard garden sheds available, certainly not the part with the roll-top roof. As early as the summer of 2019, the possibilities of having something custom made were explored, because doing it yourself seemed too time-consuming and complex. The company Houthandel Van der Heijden from Oss advertises the fact that they make custom houses based on standard tried and tested timber frame construction techniques. This seemed to provide the right mix of not having to puzzle over all kinds of constructive solutions (so that the focus could be on the self-manufactured roll-top roof, because they did not want to focus on that) and cost reduction because the “shell” can be self-assembled. A detailed drawing is made in advance. Van der Heijden supplies the walls prefab, so that the whole is largely erected in one day (all walls and 2 roofs still without covering).
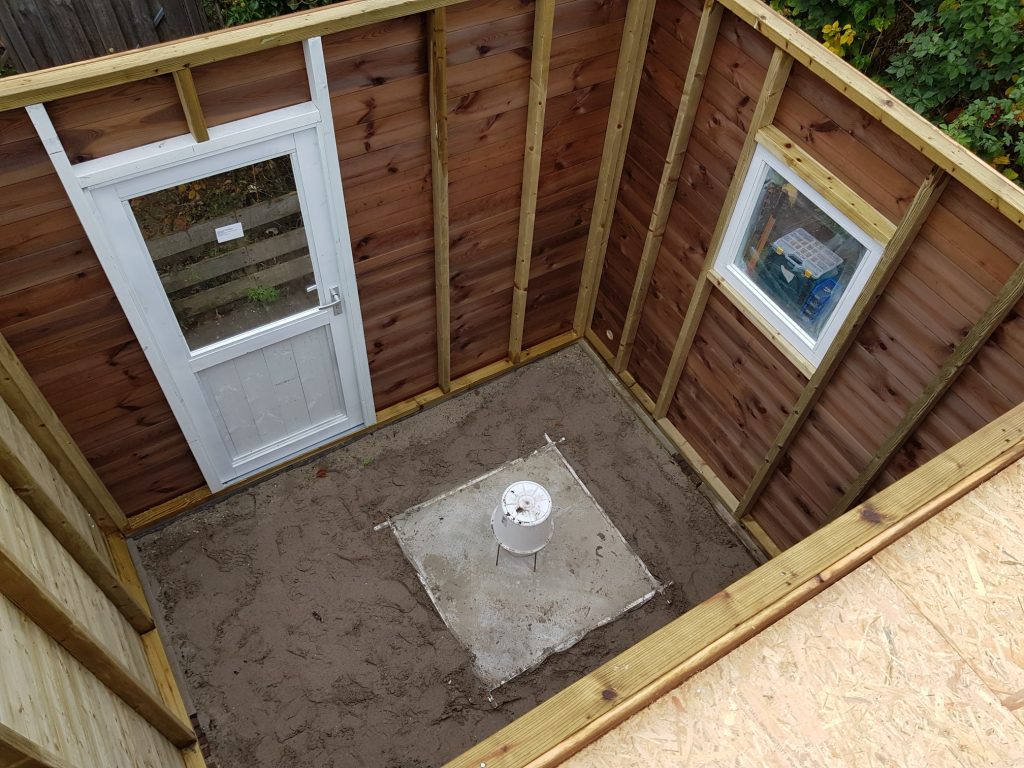
View from the roof into the observatory area
At the bottom the column foundation is visible
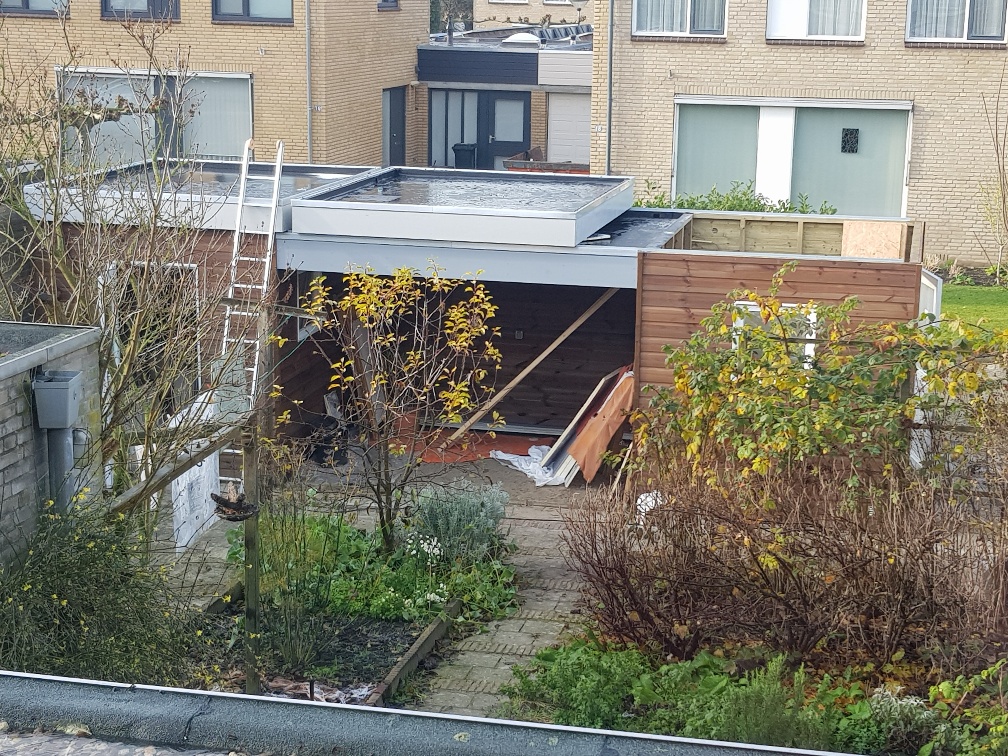
Finish
November 25th 2019
The roofs of the garden house section and roof have already been finished with insulation, EPDM and roof trims. The roof rolls fine. The roll-top roof still needs to be finished and then work can begin on the interior of the observatory. But before that, it must first be clear which mount to choose.
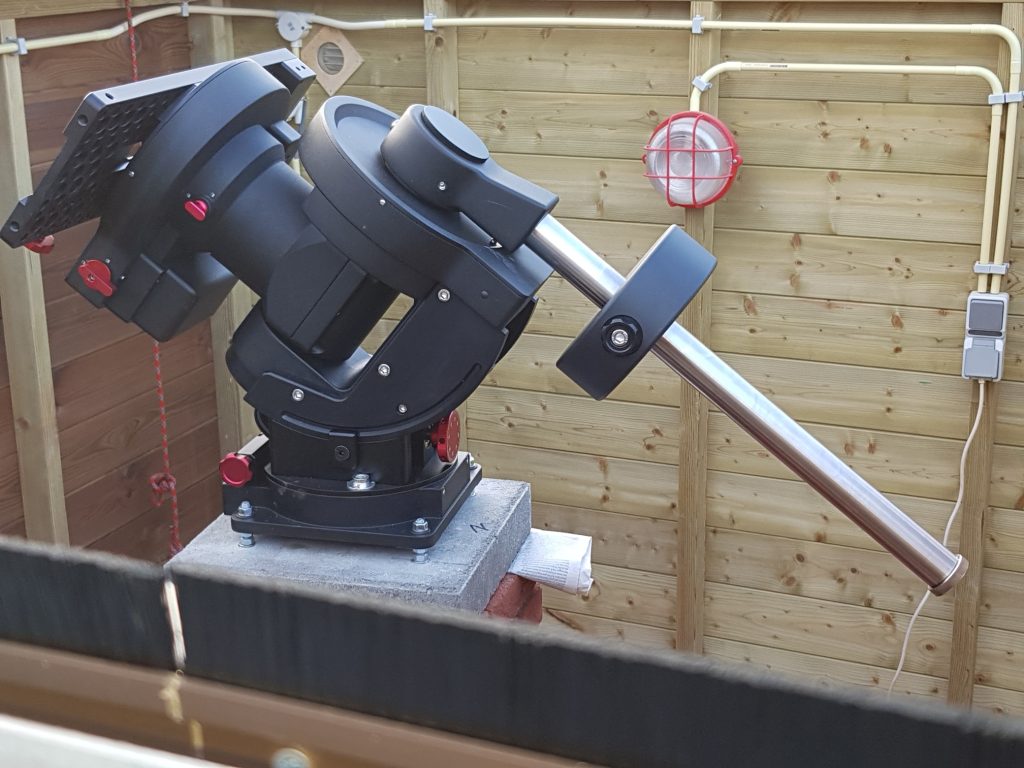
Mount
With the idea: I will buy something good once and then I will never have to adjust it again, the choice fell on an iOptron CEM120EC. The encoder on the right ascension axis should make intermittent errors a thing of the past and allow long recordings without active tracking. The fact that it will be a permanent setup makes the choice for a robust mount justified. The mount was purchased on December 28 2019.
I can say a lot about it but my start with the mount is a headache. First of all, internal cables got stuck in the mount when setting the mount to the latitude of 51 degrees. The fact that this is possible is in my view a weakness of the design.
After about a month of occasional practice with the mount while the column was being built in the observatory, the Dec axis of the mount occasionally turns out to be dead as a doornail. After some e-mailing back and forth with iOptron, after sending a video, the problem was seriously addressed by replacing the electronics for the declination motor and the motor itself. Since this intervention, the problem has not recurred.
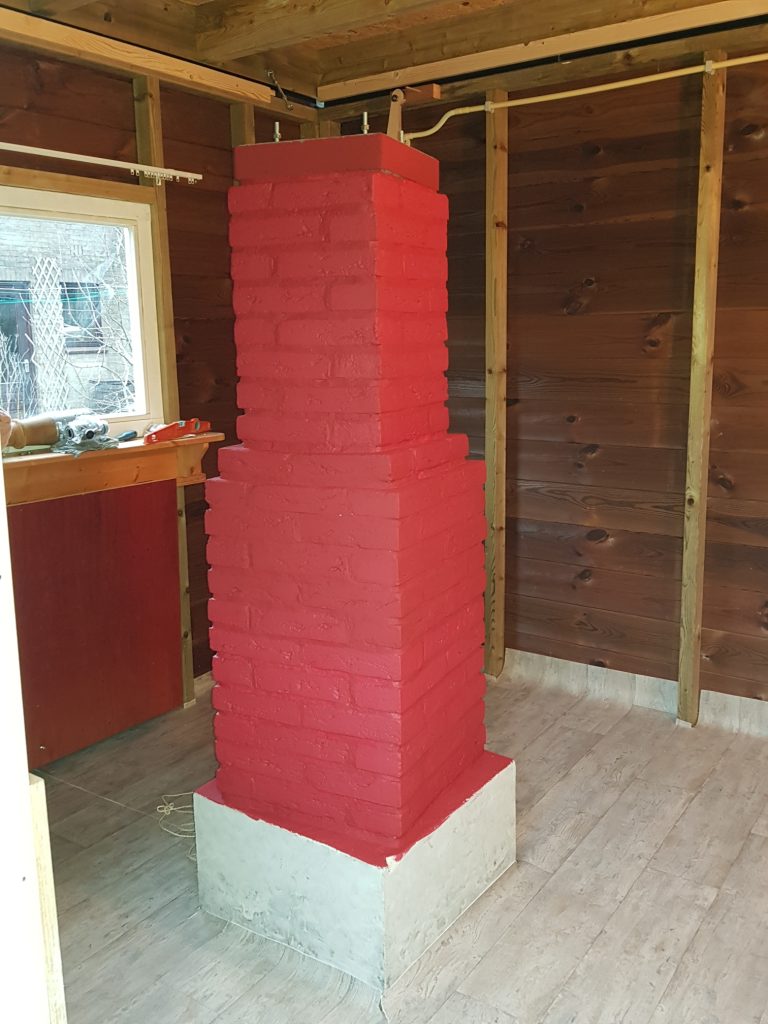
The column
The column is erected on the concrete foundation. First a 50×50 cm and 60 cm high block of concrete. Then bricked up 40×40 cm about 80 cm high and then 30×30 cm 60 cm high. The telescope is then quite high under the roll-top and the “horizon” in the east, south and west is at about 20 degrees altitude. The photo also shows the floor, which has been raised about 30 cm above ground level for easy access inside.
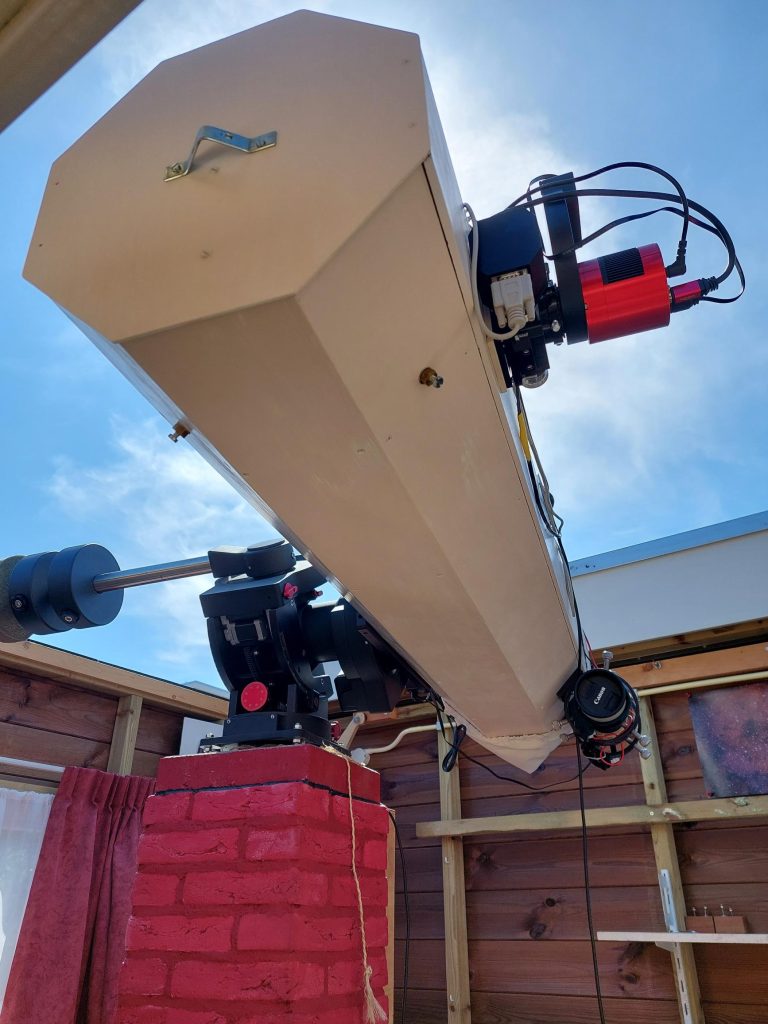
Situation with 25 cm diameter, F/6 octagonal tube
In 2022 I replaced my former 18 cm diameter F/6 hexagonal telescope with a 25 cm diameter one. This was built around a second hand, but pristine looking home fabricated mirror. By making the OTA hexagonal I saved some roof space so the larger scope still fits underneath the roof.
More information on the construction of the scope can be found in the following presentation: